Note: ITmanager.net only supports XenApp version 7.0 and up.
- Select the + button in the top right corner.
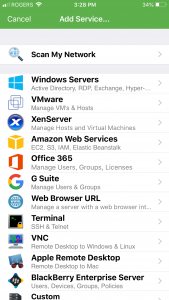
2. Once the Services menu comes up select the “Windows Servers” icon. The reason you are selecting the Windows icon is because XenApp runs on a Windows machine.
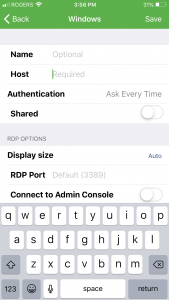
3. Type in the configuration settings to connect to your XenApp server. For Authentication you can set a KeyChain “Login & Password” or you can set Authentication to “Ask Every Time”. Be sure to scroll down to fill in the bottom field labelled “CONNECT TO PRIVATE NETWORK” with the name of the Enterprise Server you have setup. Click Save in the top right corner to save your XenApp server settings.
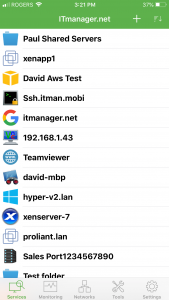
4. Go Back to the Services page and you will see the Windows Service you setup for XenApp. In the screenshot below, the Xenapp server is called “xenaapp1” and it has a Windows icon beside it.
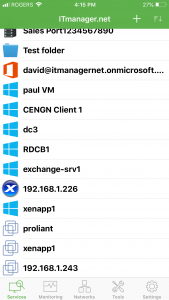
5. Select this Windows icon and it will bring up your Connection to your XenApp Service on that Windows Machine. Your connection to XenApp is now ready. click on it to connect to your XenApp Server. You should see “Citrix Studio” like in the screenshot below. Click “Citrix Studio”.
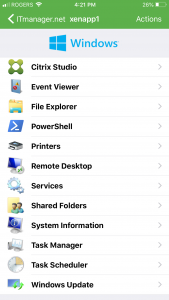
6. You are now connected to your XenApp Server!
Still have questions?